STAGES 11 & 12
On stage 11 I it is advisable to allow the glue from fitting part D30 to set before you fit the spring to the bike's stand. The only difference in stage 12 is that the push rods on the engine had already been fitted back in stage 7.
 |
| Fitted stand and spring on 1/6 Harley Davidson |
STAGES 13 & 14
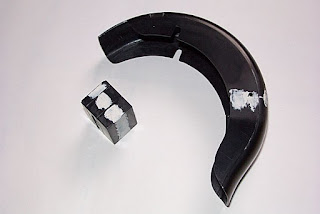
The plating on parts G19, G23, G26, F14 & F28 were removed to allow painting.. With the rear mudguard coming in four parts filler was required at the joins, sanded down smooth & then it was primed, then sprayed in Canyon Red. The resulting finish showed no join marks & made it look like one solid unit.
 |
| Filler on tank and rear mudguards |
 |
| Primed rear mudguard on 1/6 Harley Davidson |
 |
| Canyon Red sprayed on rear mudguards of Harley Davidson |
 |
| Complete rear mudguard assembly on 1/6 Harley Davidson |
STAGES 15 & 16
This is the sub assembly & fitting of the reservoir tanks & battery & also the fitting of the rear mudguard unit. Stage 15 showed no problems bar a little filler on the battery, but the fun comes in stage 16 when you try to fit it inside the frame. Great care & patience is needed as it is tricky to fit the reservoir unit through the frame & locate it on the three support arms. You must guide it slowly in & manoeuvre it around the front pins so that it sits level. The rear mudguard fits in with no problem & is secured by two screws, but do not over tighten these.
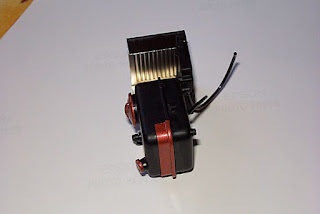 |
| Reservoir tanks and battery fitted |
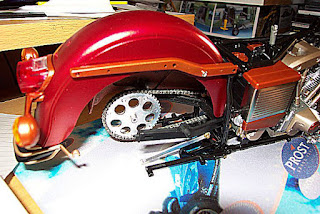 |
| Rear mudguards fitted to 1/6 Harley Davidson |
No problems here just do not over tighten the screws when fitting the front bar.
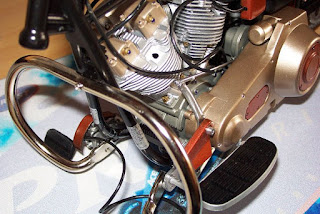 |
| Front bar fitted to 1/6 Harley Davidson |
 |
| Foot rests and front bar fitted |
STAGES 18 to 20
I found that a small amount of superglue on the metal rear shocker covers helped as in this kit as they kept coming loose, may be better in the proper Tamiya kit. Following my colour scheme, I sprayed the stage 19 in Gold after filling & sanding the joint of parts P7 & G24.
STAGE 21
The only thing to take care with is not to overtighten the screws holding the rear shockers & support bars for the paniers as if you try to tighten them too much the bars will try to push out from under the shockers. The nuts & bolts on the rear wheels & support beam were highlighted in Gold & Purple.
 |
| Rear shock absorbers fitted to 1/6 Harley Davidson |
No problems just the chrome was sanded off & then re-sprayed to follow my paint scheme.
STAGES 23
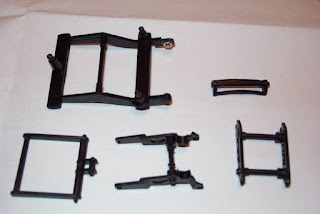
What fun, NOT!!!! Part T6 had a major fault with being moulded incorrectly as was totally useless. This would have made the whole assembly useless, so time for a quick alteration. I glued a 3mm nut to a piece of plastic & reshaped it to match the faulty piece.
 |
| Rebuilt top section of seat mountings |
 |
| All the seat parts of 1/6 Harley Davidson painted |
 |
| Completed 1/6 Harley seat frame |
No comments:
Post a Comment