 |
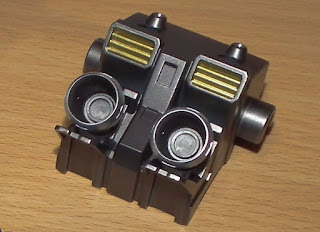
| Backpack of 1/48 Zaku 2 primed |
The backpack was sprayed in Steel & some highlights of Duraluminium, Burnt Iron & Brass on the vents, recesses & small exhausts brought out the detail. The larger verniers were sprayed Duraluminium then the inner section in Burnt Iron. The cover for the back panel was primed & sprayed in Light grey.
 |
| Zaku 2 backpack painted with highlights |
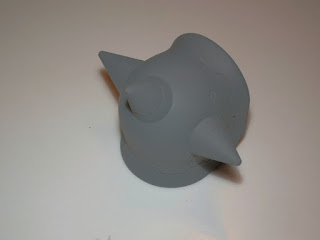
The armoured shoulder section & shield were fitted with the polycaps, glued, sanded & primed with the standard grey & allowed to dry.
 |
| Zaku 2 shield primed |
 |
| 1/48 Zaku II shoulder armour sanded & primed |
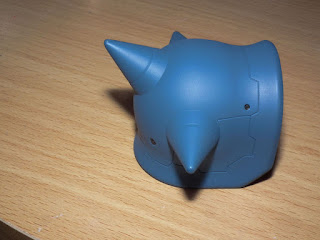
Matching the two tone blue scheme on the rest of the Zaku these were sprayed with light coats of UK Mediterranean Blue.
 |
| Finished 1/48 Zaku Shoulder armour |
The torso now needed to be finished & with looking at the flow of the colours the upper & lower torso were sprayed with Light Grey& a few highlights with Steel on the connections & head collar that might be seen on the finished kit, but I wanted to do it for my own delight J.
The earlier primed side armour for the torso was painted in the paler U.K. Azure Blue & some highlights in Steel & Brass where required. The energy cables & the torso connectors did, like for the head, take a lot of time to get right & I followed the same method of Chrome base & light spray of Metallic blue (A.MIG-0196) that are just enough to provide a light blue tint.
The front cover for the energy cables was primed & painted U.K. Azure Blue & highlights in Steel.
 |
| Zaku 2 torso parts ready for assembly |
The front cable connector goes on first, and then the two sidepieces, the back cable connector & finally the front cable cover just push into place with no need for glue.
 |
| 1/48 Zaku 2 side plates & connectors fitted |
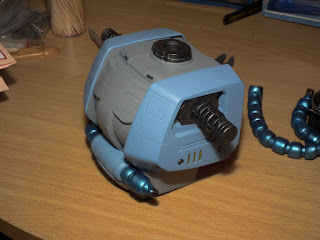
The inner part of the backpack goes over the rear cable connectors& then the two exhaust verniers pushed in to the bottom of the backpack.
 |
| 1/48 Zaku 2 backpack fitted |
With care not to scratch the painted surface of the energy cables gently, push them into place. All you then need to do is put the cover on the backpack & the main torso is finished.
 |
| 1/48 Zaku 2 torso painted & finished |
No comments:
Post a Comment