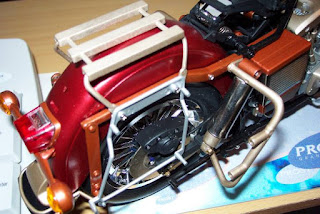
The suspension unit sits on the bike frame & rear mudguards, so I found that an elastic band fixed over the shockers held it in the correct position without putting too much pressure on the unit. In stage 25 I decided to also fix parts G15, G21 & G22 at this stage.
 |
| Elastic band holding seat frame in position |
 |
| 1/6 Harley pannier frame fitted |
There were no problems here and just followed the colour scheme for the bike and removing anyt chrome before priming and painting.
 |
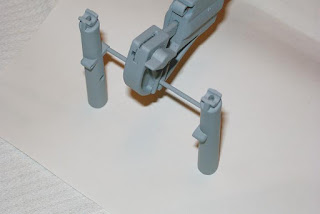
| 1/6 Harley Davidson front forks primed |
 |
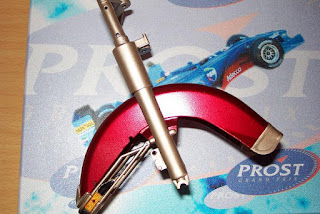
| Front forks now painted in Gold |
The front protective section of the mudguard & part No. F26 were sanded down, painted in gold, then the rubber & amber glass was glued in place. The front mudguard was sprayed in red to match the rear guard. Part No. G28 will be put on in the final stage.
 |
| Front mudguard finished in Canyon Red |
I followed the normal plan &only highlighted the bolts on the front wheels in purple.
STAGE 30
From here on most of the build plan will change to help with my paint scheme & I think easier fitting of parts. I cut off the lugs inside part No. N16 & N17, glue these together, without the headlight. This was so I could sand the joints then paint it copper. I then made the headlight unit as the stage says & glued it to the cover and this will be fitted later on.
I then fixed the front mudguard, screwed & glued the front protective section & parts F26 in place.
 |
| Front mudguard mounted to the forks |
 |
| Wheel mounted to forks on the 1/6 Harley Davidson |
For me is was easier to forget stage 31 and do the following. I fixed the front forks in place with part no’s C3 & C4 and then feed the brake pipes into the correct areas ready.
 |
| Front forks mounted to frame of the 1/6 Harley Davidson |
(PART OF STAGES 30 & 32)
I found it a lot easier to fix the fairing frame & headlight unit in one go. I took the parts L39, L40, H19, H21 & G29 and painted these silver. I then placed the headlight unit over the forks & fed the cables out of the top as shown in stage 30, then glued just the top of the head headlight unit to the fork top. When dry glued/screwed the fairing frame parts to the headlight unit.
The reason for this was that it made it easier to feed the brake pipes to the correct place & the fairing frame holds the headlight unit in place.
 |
| Headlight and fairing frame fitted |
Making the rear boxes ( Stages 37 & 41 )
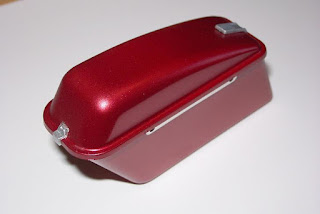
I glued parts R2 to R5 & R6 of the side boxes and S5 to S6 of the top box, primed them, then sprayed then in "Canyon red". The hinges and supports were sanded and painted in silver. the parts H4 for the side boxes were painted in gold, but will not be fitted till the final finish.
 |
| 1/6 Harley side boxes finished and painted |
 |
| 1/6 Harley top box finished ready to fit |
No comments:
Post a Comment