The instructions show a lot of the sprues are designed to snap together before the parts are removed, but as I will be filling & painting the kit I’ll stick to the more standard way of making a model.
A lot of this kit will be primed using a method I found works for this kind of plastic where a light spray of Halfords car primer is put on first, then a very light sand & clean before Vallejo primer goes on top.
The first area I started on is the soles of the feet. The bottom sections are made of just 2 parts & after fitting were given the Halfords undercoat then Vallejo Black primer to give a satin effect.
 |
| 1/48 Zaku II soles painted black |
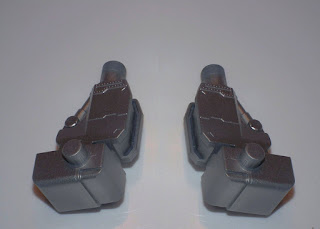
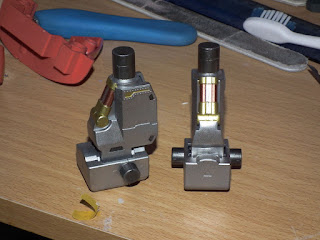
The ankle joint is going to have some detail painting done later, so to start with I made the ankle joints as shown in stages 7 & 8, but please pay attention to how parts G2 & G3 go on the ankle as the larger piece must go on the front facing end.
These were undercoated then painted in Vallejo “Metal Color” Duraluminium.
 |
| 1/48 Zaku II ankle joints primed |
 |
| 1/48 Zaku II ankles now had detail added |
The upper parts of the feet were primed on both sides & the detailed ankle joints put in with the poly caps. When I looked at the feet I was not happy with the size of gap in the joints and I used my normal plastic filler & after sanding checked to see how it was looking.
 |
| Filled and sanded feet for the 1/48 Zaku II |
To me it just needed the final touch of some very thin superglue to go over the filler & that will then seal any micro holes to give a very smooth finish for priming again later.
No comments:
Post a Comment